How to Get Professional Results Without Paying Installation Costs
Installing your own sod can be one of the most rewarding upgrades you make to your home. In just a few hours, a dusty yard can become a lush, green lawn—without waiting months for seed to fill in. But the difference between a lawn that thrives and one that struggles usually comes down to preparation and technique.
At Atlanta Sod Farms, we work with homeowners across Metro Atlanta and Middle Georgia every week. While many customers choose professional installation, plenty of successful projects are done by DIY homeowners who follow the right steps.
This guide walks you through everything you need to know to install sod the right way the first time.
⸻
Step 1: Choose the Right Grass for Your Yard
Before you touch the soil, make sure you’re choosing a turf variety that fits your environment.
Best Warm-Season Grasses for Georgia
• Bermuda (TifTuf, Tifway 419, Celebration, NorthBridge)
✔️ Full sun
✔️ High traffic
✔️ Excellent drought tolerance
• Zoysia (Zeon, Empire, Emerald, Innovation, Meyer)
✔️ Partial shade to sun
✔️ Thicker, softer feel
✔️ Slower growth = less mowing
• Tall Fescue (Cool-Season)
✔️ Fall installs
✔️ Shadier yards
✔️ Requires more summer irrigation
👉 Pro Tip: If your yard gets less than 6–7 hours of direct sunlight, avoid Bermuda and consider Zoysia or Fescue.
⸻
Step 2: Measure Accurately (Don’t Guess)
Measure your lawn in square feet:
Length × Width = Square Footage
Order 5–10% extra to account for cuts and waste.
If your yard is irregular, break it into rectangles and add them together.
⸻
Step 3: Remove Old Grass and Weeds
You must start with bare soil.
Options:
• Sod cutter (rental) – fastest and cleanest
• Roundup (glyphosate) – wait 7–10 days
• Manual removal – shovel and rake
Remove roots, debris, and dead grass. Anything left behind becomes a barrier between soil and sod roots.
⸻
Step 4: Prepare the Soil (This Is Where Most DIY Jobs Fail)
Loosen the Top 3–4 Inches
Use a tiller or garden rake to break compacted soil.
Level and Grade
• Slope slightly away from your home
• Fill low spots
• Avoid future puddles
Add Starter Fertilizer
Use a starter fertilizer high in phosphorus to promote root development.
👉 Pro Tip from Our Install Crews:
Your lawn will only be as good as what’s underneath it. If you rush this step, you’ll fight problems for years.
⸻
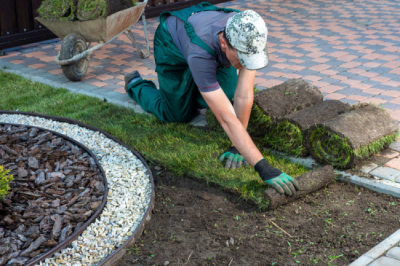
Step 5: Lay Sod Immediately After Delivery
Sod is a living product. Install the same day it arrives.
Installation Pattern
• Start along a straight edge (driveway, sidewalk)
• Stagger seams like bricks
• Keep pieces tight—no gaps, no overlapping
Cutting
Use a sharp utility knife or landscape blade to fit edges and curves.
Rolling (Optional but Recommended)
Lightly roll the sod to ensure full soil contact and eliminate air pockets.
⸻
Step 6: Water Like It’s Your Job
Watering is the single most important factor in sod success.
First 14 Days
• Water 2–3 times per day
• Keep sod and soil constantly moist
• Lift a corner—soil beneath should be damp
Weeks 3–4
• Water once per day
• Increase depth, decrease frequency
After Establishment
• Water 2–3 times per week, deeply
👉 Rule of Thumb: If it looks dry on top, it’s too dry underneath.
⸻
Step 7: First Mow and Ongoing Care
• Wait 10–14 days before first mow
• Never remove more than ⅓ of the blade
• Keep mower blades sharp
• Avoid heavy foot traffic for the first month
⸻
Common DIY Sod Mistakes to Avoid
❌ Skipping soil prep
❌ Waiting a day or two to install
❌ Under-watering in the first two weeks
❌ Choosing the wrong grass for shade/sun
❌ Leaving gaps between pieces
⸻
Is DIY Sod Right for You?
DIY installation is a great option if:
✔️ You’re physically able to handle lifting and cutting
✔️ You want to save on labor costs
✔️ You’re willing to follow watering schedules closely
Professional installation may be better if:
✔️ Your yard has heavy grading or drainage issues
✔️ You’re installing large areas
✔️ You want guaranteed results with minimal effort
⸻
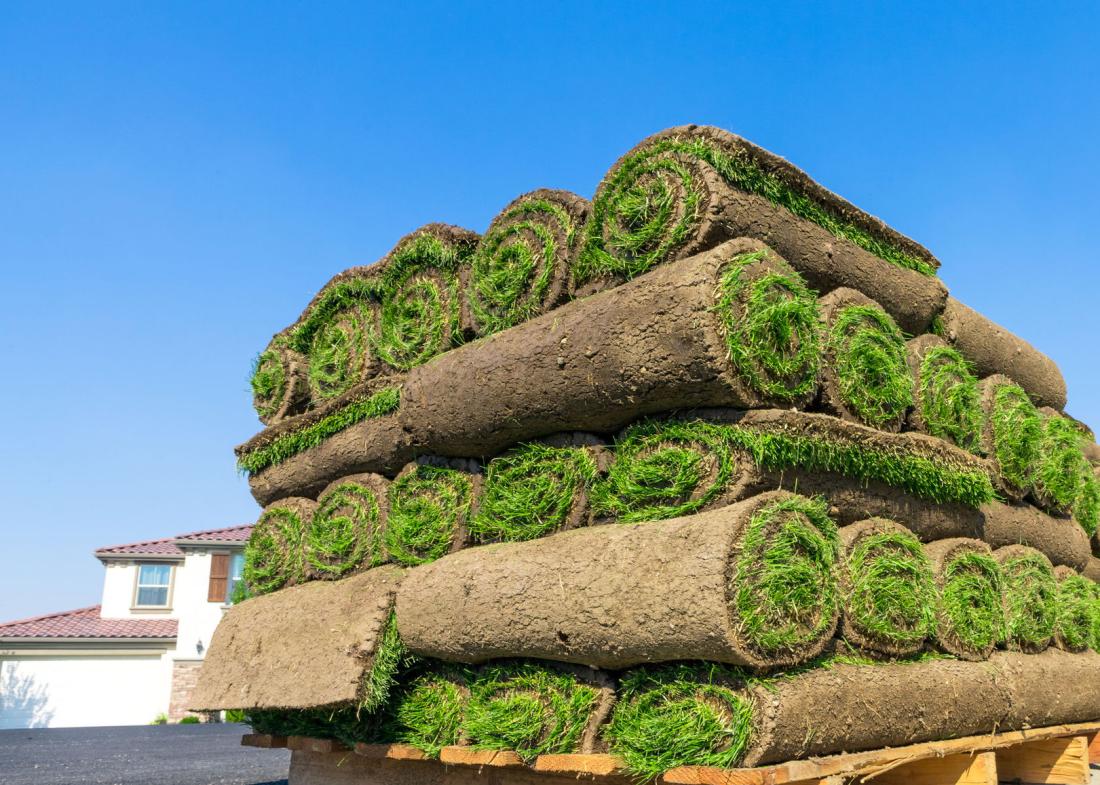
Where to Buy Quality Sod in Georgia
The success of your lawn starts with fresh, locally grown sod. At Atlanta Sod Farms, we provide:
• Farm-direct sod (cut fresh, not warehouse-stored)
• Multiple premium grass varieties
• Honest guidance on grass selection
• Delivery throughout Metro Atlanta and Middle Georgia
We also offer professional installation for homeowners who prefer a turnkey solution.
A beautiful lawn doesn’t require guesswork—just the right product, proper preparation, and consistent care. Whether you install it yourself or hire a professional, following these steps will give your sod the best chance to thrive in Georgia’s climate.
If you need help choosing the right grass, calculating how much sod you need, or deciding between DIY and installation, we’re always here to help.
Atlanta Sod Farms – Farm Direct. Veteran Owned. Locally Grown.
👉 Learn more about sod types: atlantasodfarms.com/sod-types
👉 Installation info: atlantasodfarms.com/sod-installation